Thursday, 13 December 2012

WIP WWII Russians, Plastic Soldier Company

And now for something completely different!

Regular readers ("hello mom") may recall that I visited the latest Derby Show held at a new venue at Castle Donington with my brother and old mate Ade. There we played a small demo of Warlord Games new'ish WWII rule set Bolt Action. After a game in which we somehow managed to completely wipe each other out Ade and myself decided to invest some of our future time and efforts in this game system. Ade bought the rules there and then. As mentioned previously, Ade intended to go with US forces and his rather spiffing first lot of figures can be seen here. 
 
I however opted to take on the mighty Red Army, purchasing a box of The Plastic Soldier Company's (PSC) plastic 28mm WWII 'Russian Infantry in Summer Uniform' from Wayland's Forge in Birmingham. Leaving the shop I noticed Warlord Games (WG) plastic Russian set and went back and bought those as well, justifying the purchase as I wanted to recreate the 'human wave' effect in games as cheaply as possible.

The Plastic Soldier Company's set has a certain retro charm but suffers from a lack of sharpness of detail compared to the figures in the WG set. I believe the masters were designed for 1/72 (20mm) scale and then scaled up to 28mm but suffering in the process. I'll detail the box contents once I've finished at least one lot of sprues worth of figures.
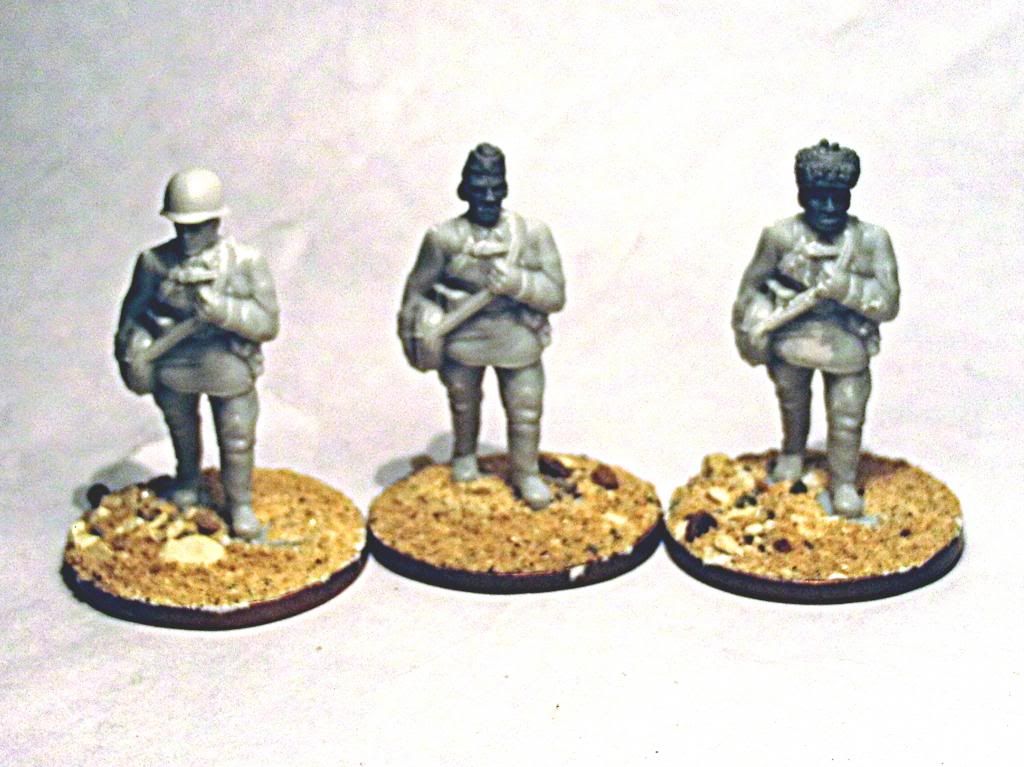
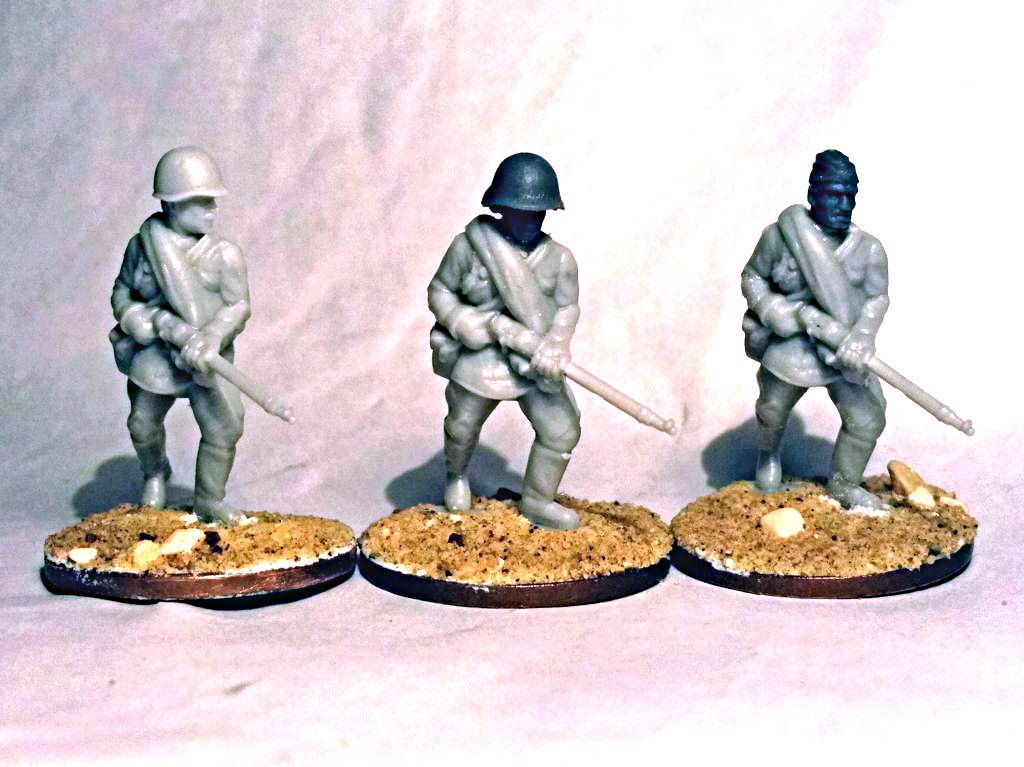
Added Russian M52 helmet & Ushanka fur hat (even if he is wearing summer uniform).
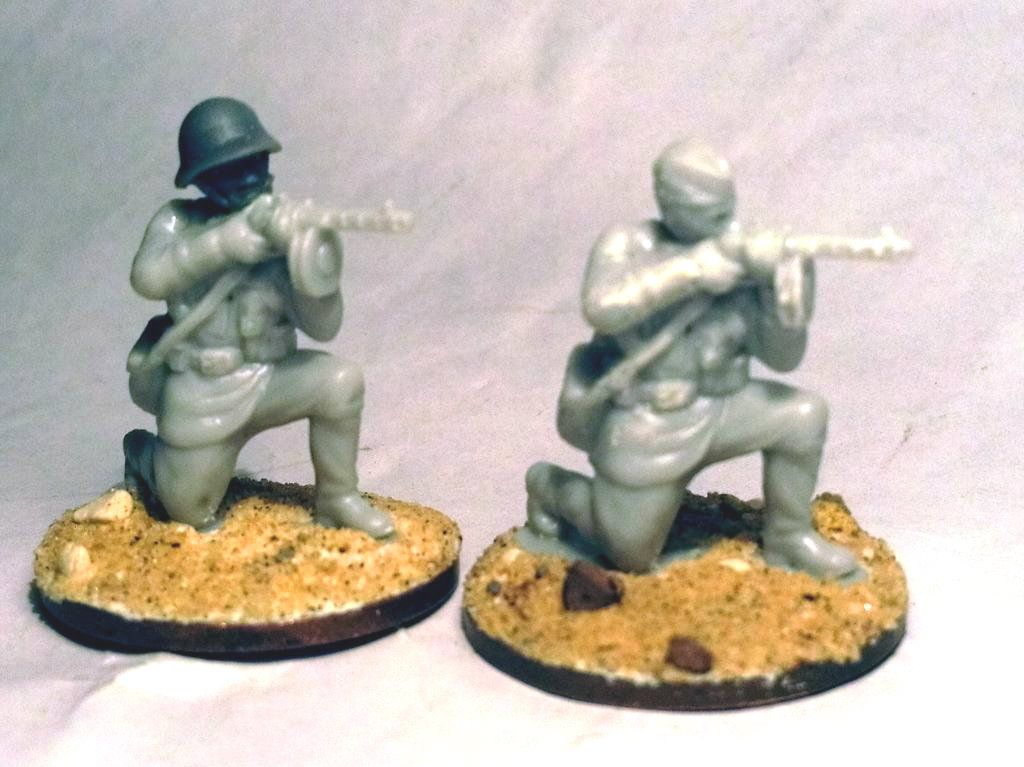
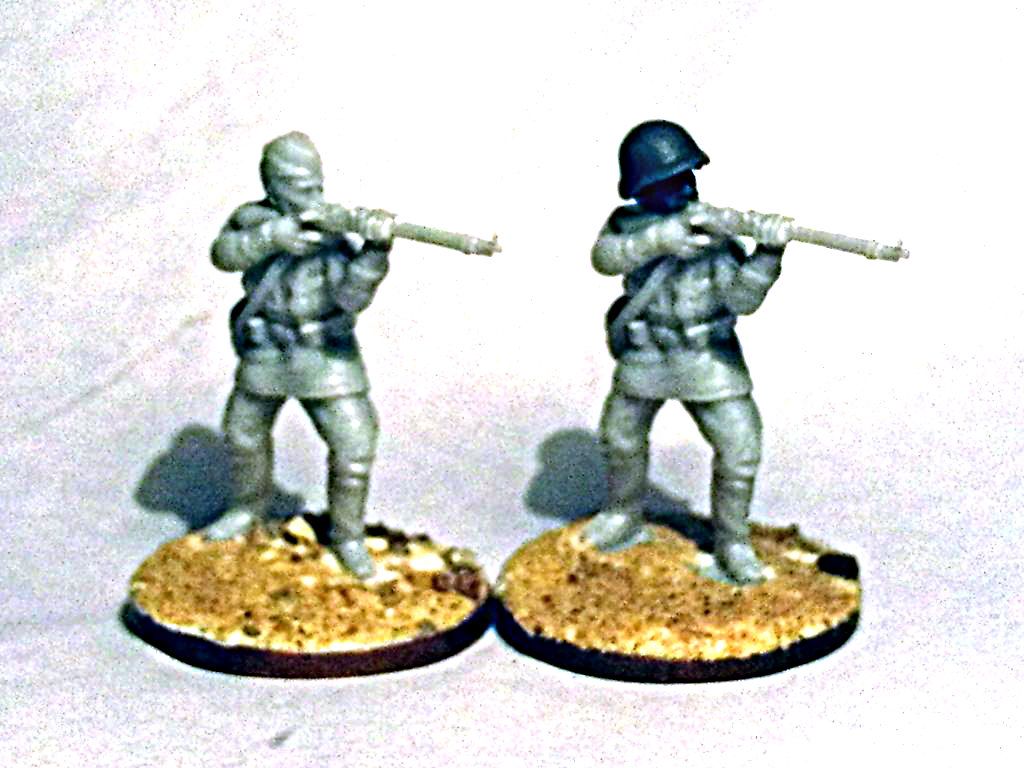
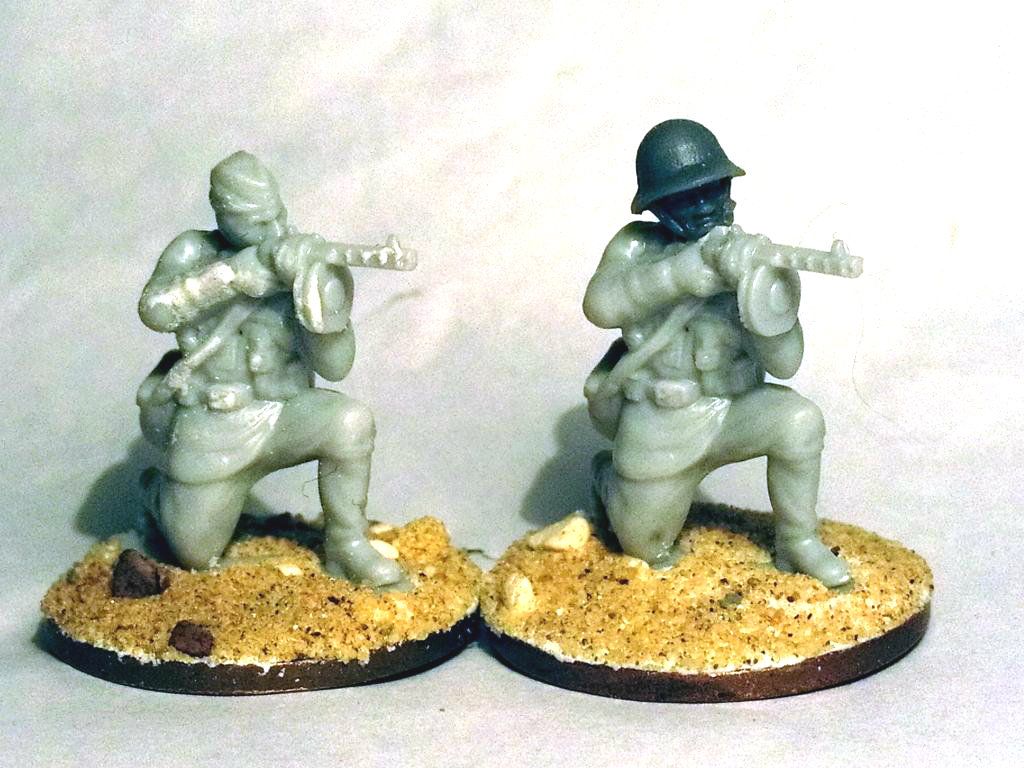
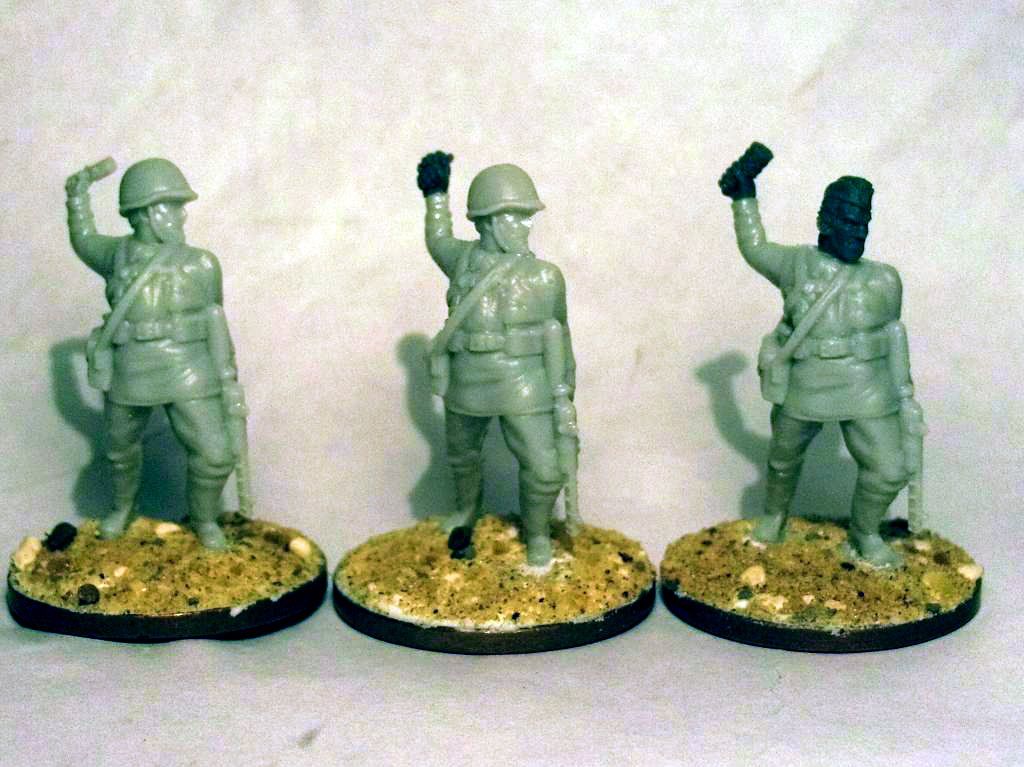
The box set contains three identical sprues but the majority of figures are single mouldings, not multi pose like WG but regular readers ("hello again mom") will know I enjoy chopping and changing figures whenever possible as I like to add some variety to my red horde. Having numerous spare heads from the WG box I decided the chop and change at least one of the three figures per sprue.

In this first batch I've only changed the heads (and a single hand), I hope to modify a few other bits and pieces with other figures. All the original, unaltered, miniatures are the first figure the left hand side (except for the second photo because I forgot) but hopefully the differences should be obvious.

Wednesday, 12 December 2012

Dovecote

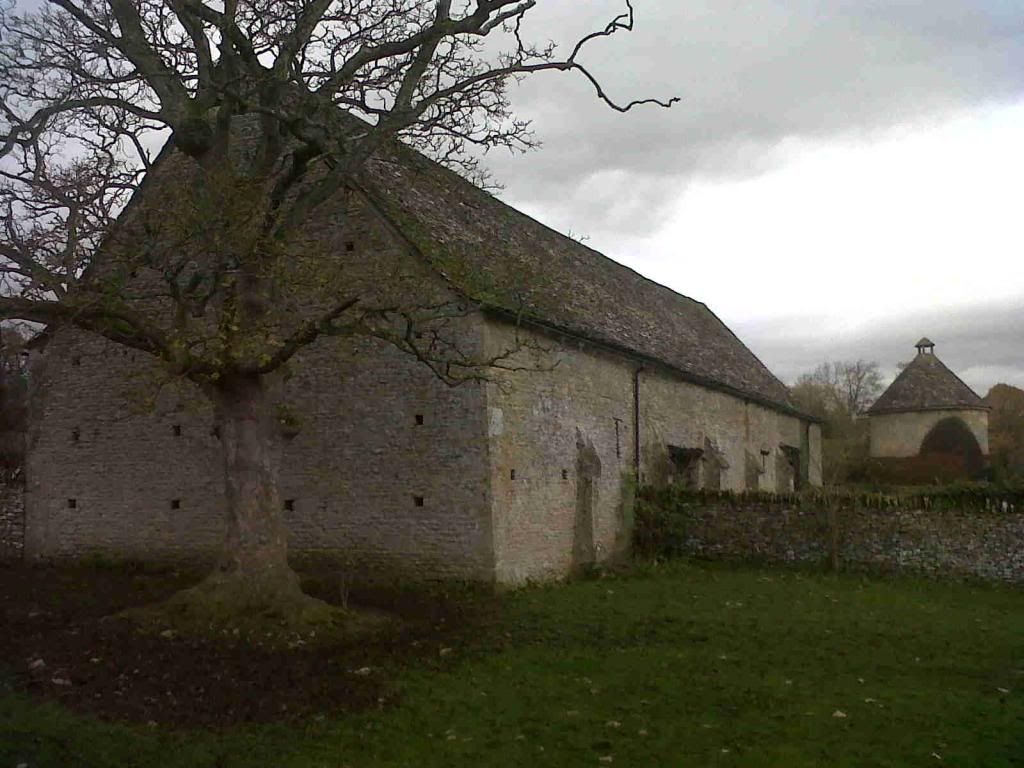
This relatively simple terrain piece is loosely based on the dovecote located at Minster Lovell, Oxfordshire.  Minster Lovell Hall was the home of Francis Lovell, 1st Viscount Lovell, a supporter of Richard III. As a leading Yorkist Lovell was instrumental in the Lambert Simnel rebellion but after his defeat at the Battle of Stoke Field, June 1487, Lovell disappeared from history.
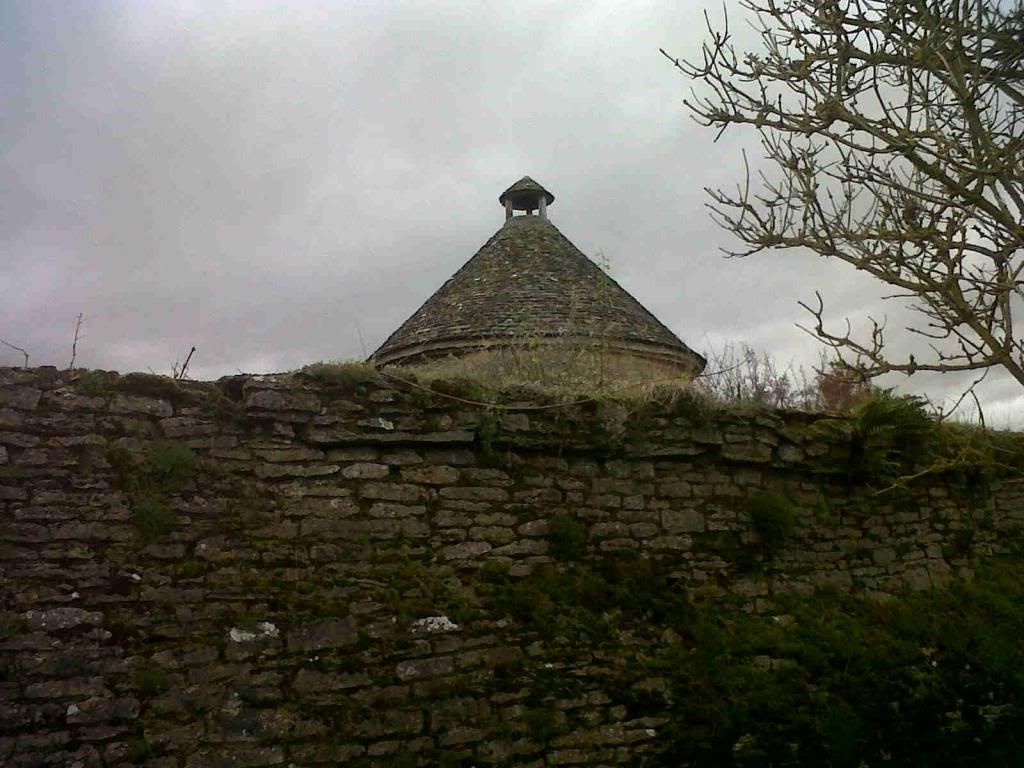
Minster Lovell Barn & Dovecote
The structure is one of only three freestanding round medieval dovecotes that I'm aware of, the others can be found at Dunster, Somerset and Sibthorpe in Nottinghamshire, England. These high status (guess who's being watching too many repeats of Time Team lately) buildings would have provided fresh eggs and meat throughout the winter months.
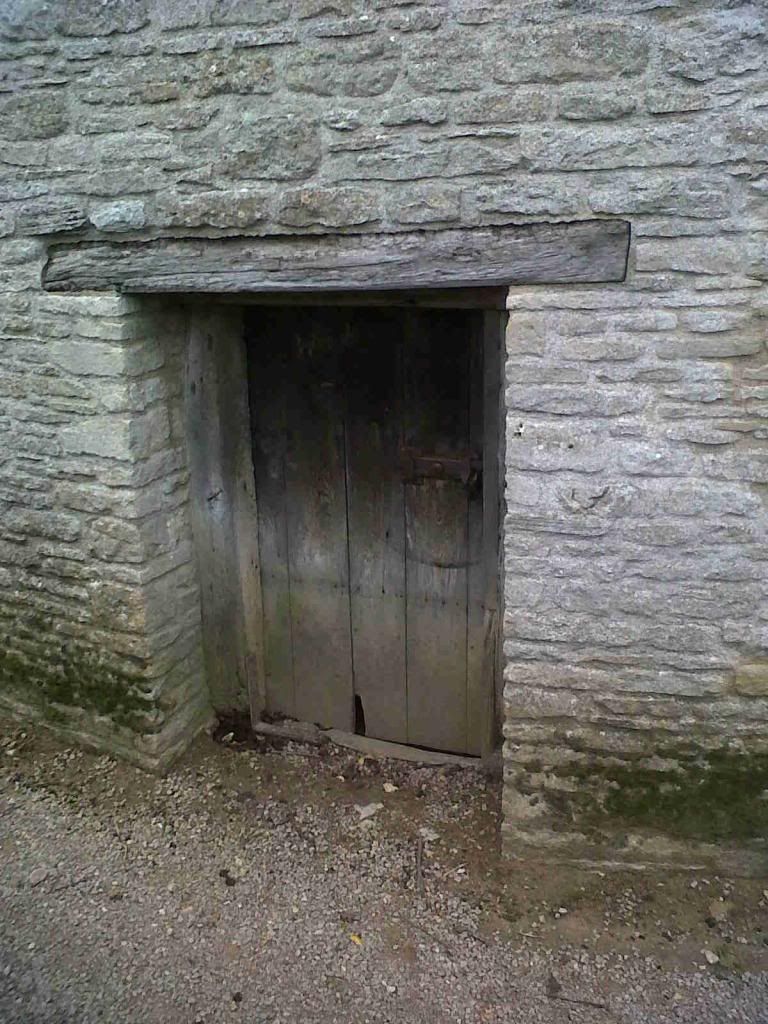
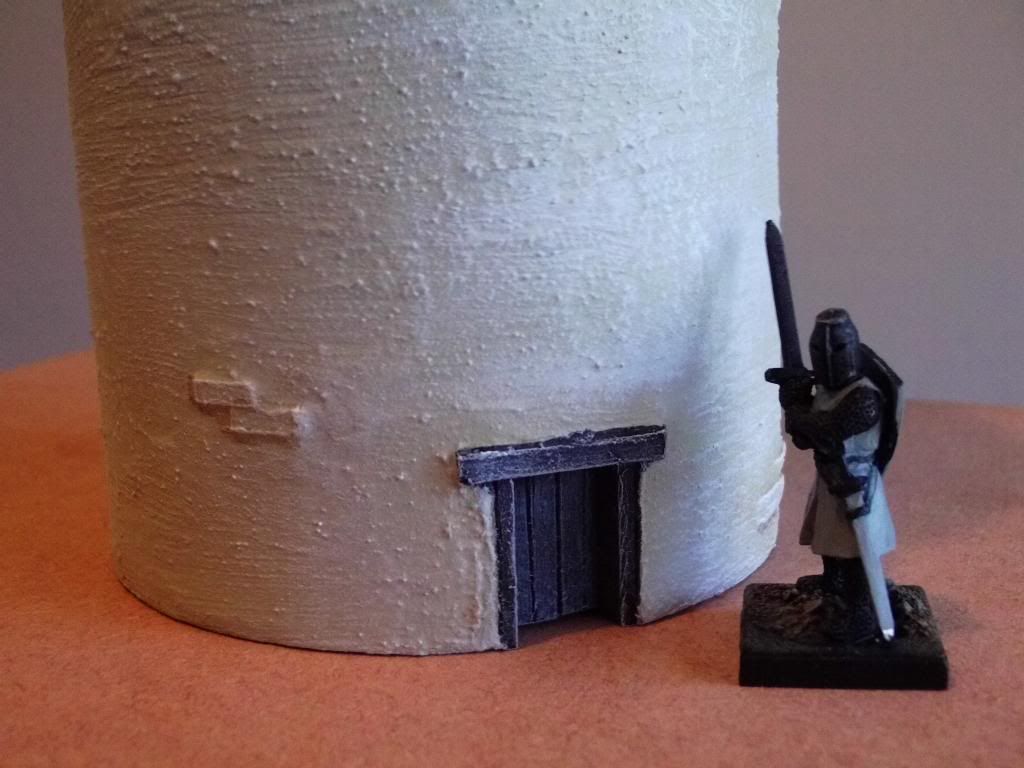
Dovecote door detail
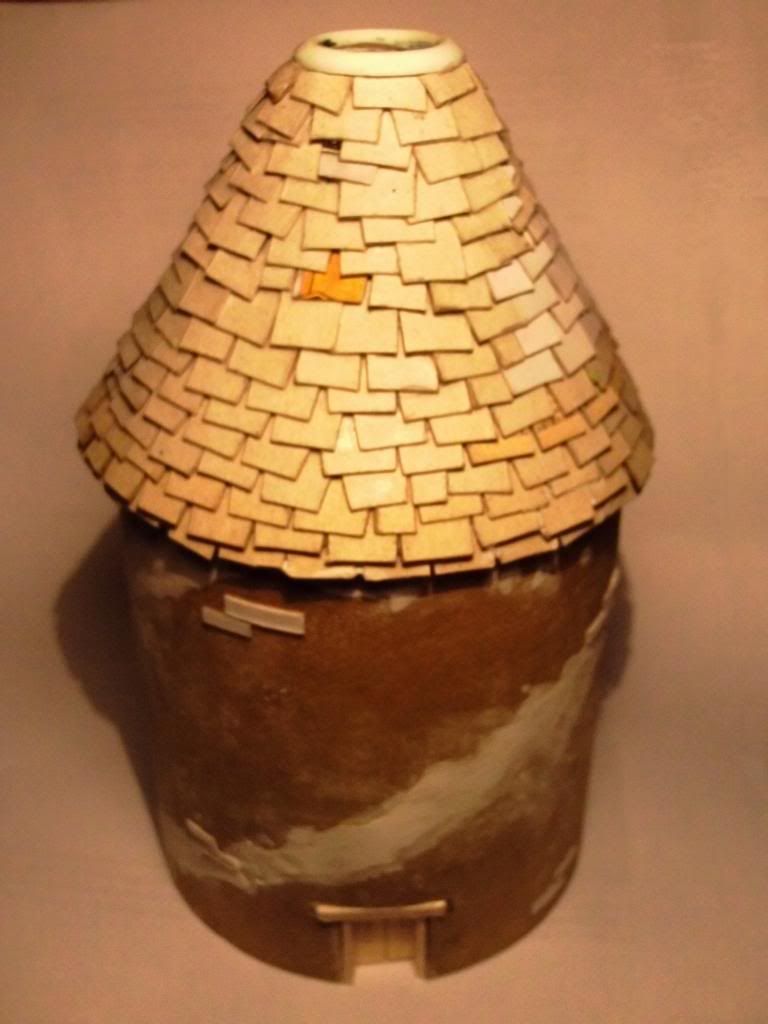
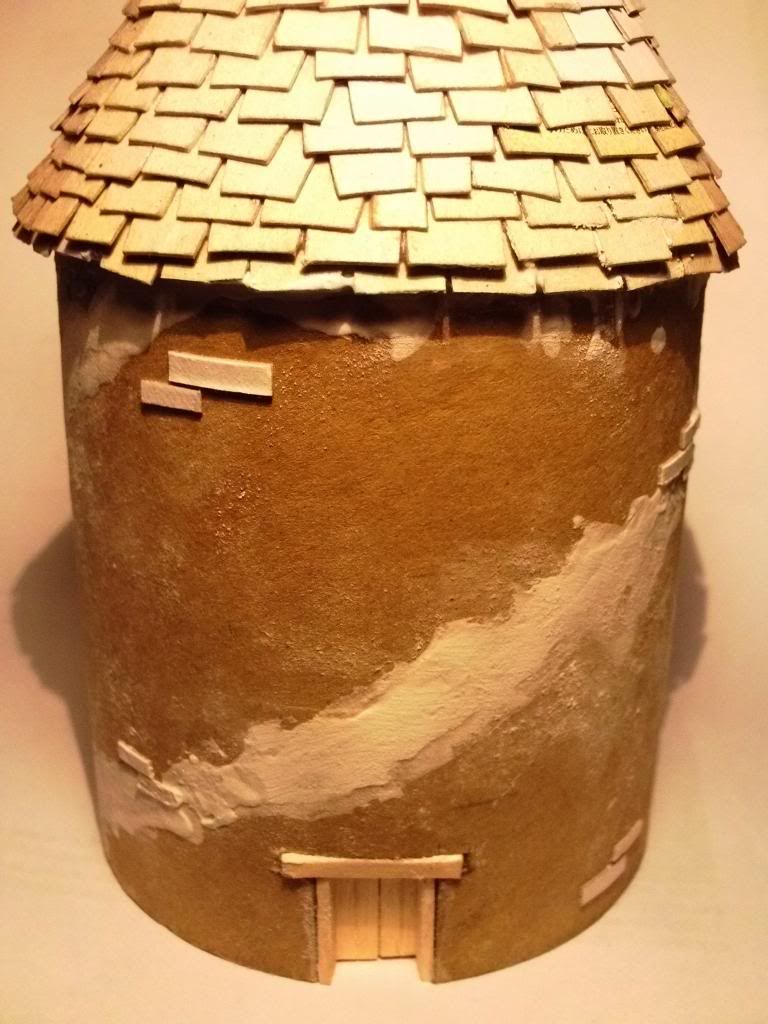
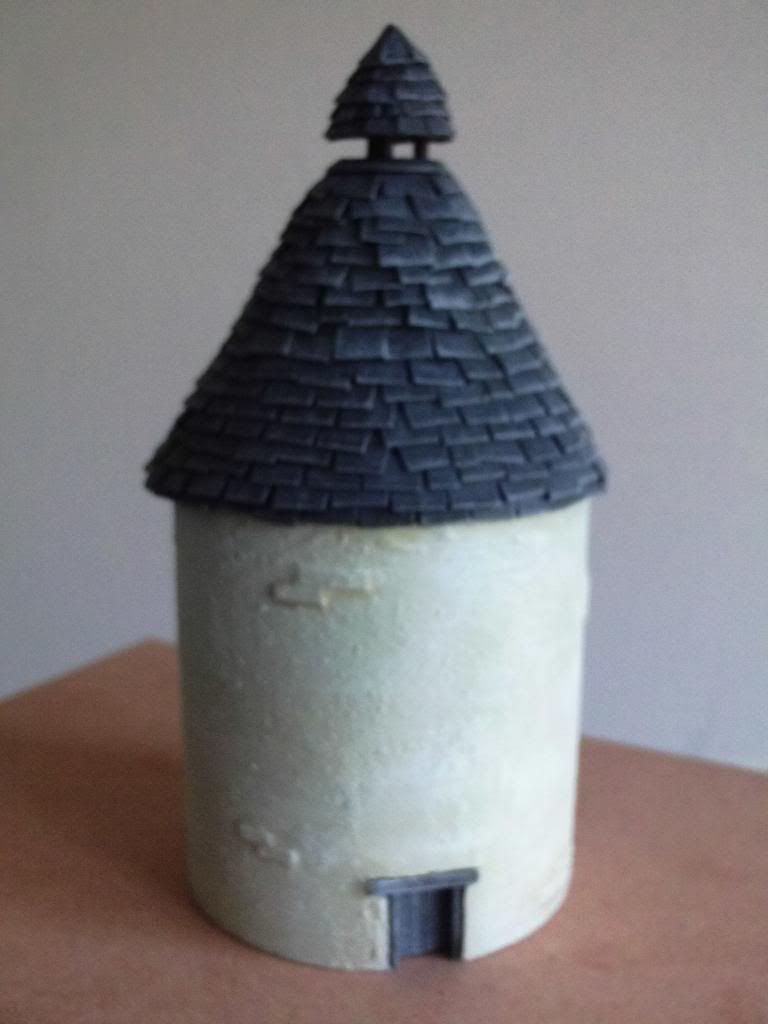
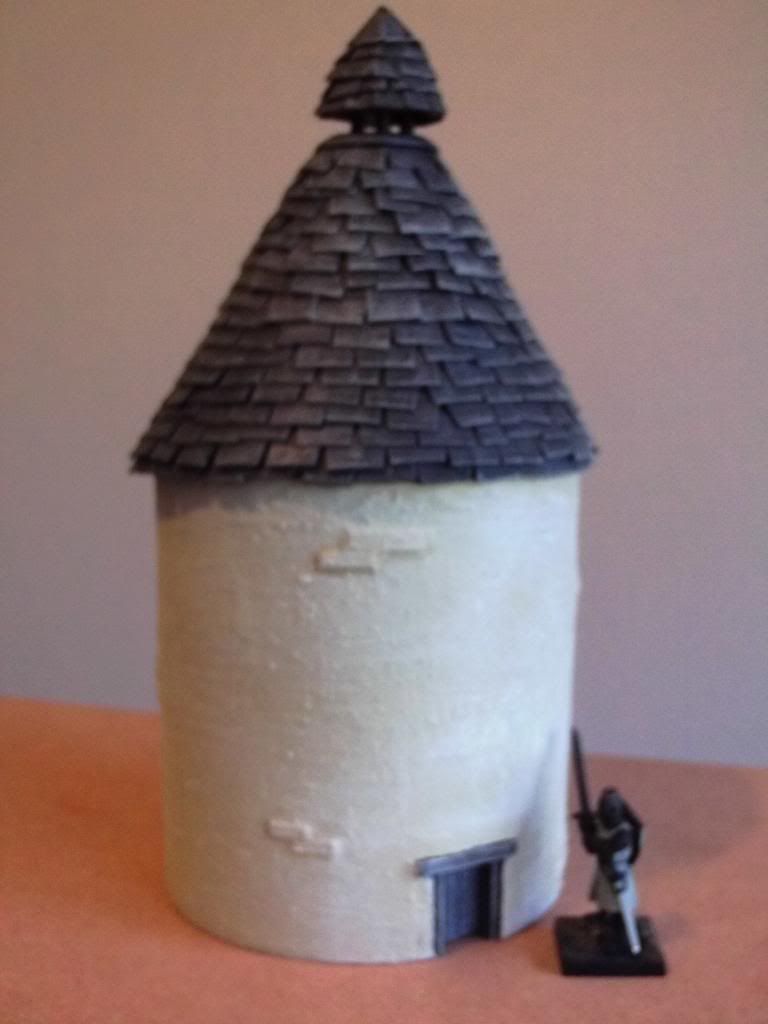
My model has been made to match the slate tiles and rendered walls of model of the great round tower. The main structure is made from a cut off piece of the inner cardboard tube from an industrial roll of PVC foil 3 1/2" (89mm) dia. The low doorway was cut out with a small saw, the door made from wooden coffee stirrers and the door way made from small rectangular section wooden pieces.
 
The main roof was made from a cone of scrap cardboard with the apex cut off. The circular cap on the main roof is made cutting off the inner plastic top of a Citadel paint lid to form a ring.
 
I did initially try to glue three uprights directly to this ring but they broke away with the lightest of contact so I had to come up with another method. Eventually I trimmed the bottom of one of those tiny shampoo bottles found in hotels, pierced it so I could push three small lengths of barbeque skewers though it which would support the conical apex and plugged the hole in the roof. As with the round tower the roof tiles were cut from scrap packaging, starting at the lower edge and working upwards, decreasing the size of the tiles as I progressed. The apex of the roof was made from a small cone of the cardboard, covered in cardboard tiles and wedged onto the vertical barbeque sticks, stuck down with liberal use of PVA woodglue. 
 
A curious feature with the Lovell and Dunster dovecotes are the very low entrance doors, both are only around 3' (1219mm) high. The knight figure above gives quite an accurate sense of its height. I'm not sure of the reason for this, I can only assume it was to maximise the internal space(?).
 
The scale of the model isn't that accurate to the original building, the diameter of the tube is too small and the pitch of the roof is too steep but as it's only for my personal use I'm not overly concerned about such details (my model, my rules afterall). I think it makes an interesting (to me, at least) alternative to the usual structures seen on a gaming table.

Monday, 10 December 2012

(Bargain) Medieval Tents

These model tents are based on an idea which I blatantly stole was inspired to try in order to make my own versions after reading a post on Pauls Bods excellent blog. The original post can be found here. For my version I used cardboard rather than paper (actually the packaging from various boxes of plastic miniatures).

A quick Google ("All Hail") Image search normally protrays of medieval tents as having an alternate two colour style but I was curious if this was historically accurate. I had a rummage through a couple of my reference books and I noticed that the few contemporary illustrations of medieval tents, that I could find, had quite ornate decorations which I have tried to replicate in the two tents detailed below.


The painting is quite crude but I completed both of them in less than a hour to help past the time. Despite using the paper template I now think my initial efforts (below) were too big but were still useful practise pieces.

Future efforts will be tweaked slightly. I intend to double the number of sides so the tents resemble the ones I've seen in my reference books. I will also add an open flap (none the examples above have one) and attempt to give one a more accurate (and more difficult) paint job. Once I'm happy with the results I'll post a quick tutorial. I realise it's far easier and quicker to purchase and paint plastic/resin models but in this day and age the option of creating something for free out of scrap is always a nice alternative to have available.

Friday, 7 December 2012

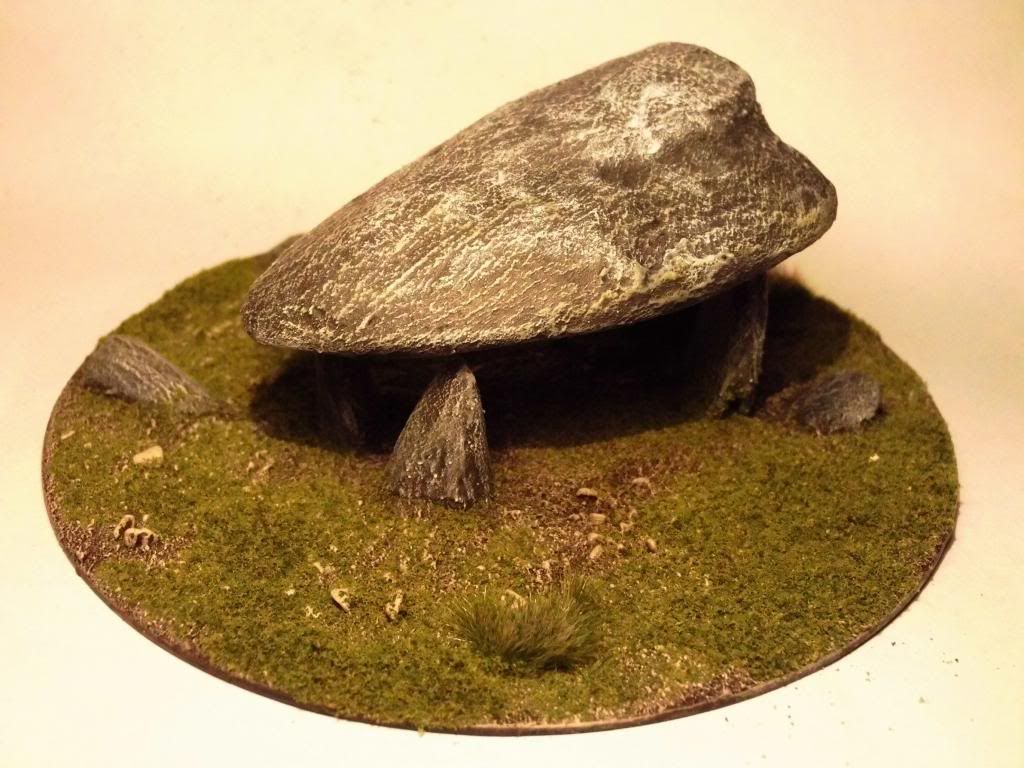
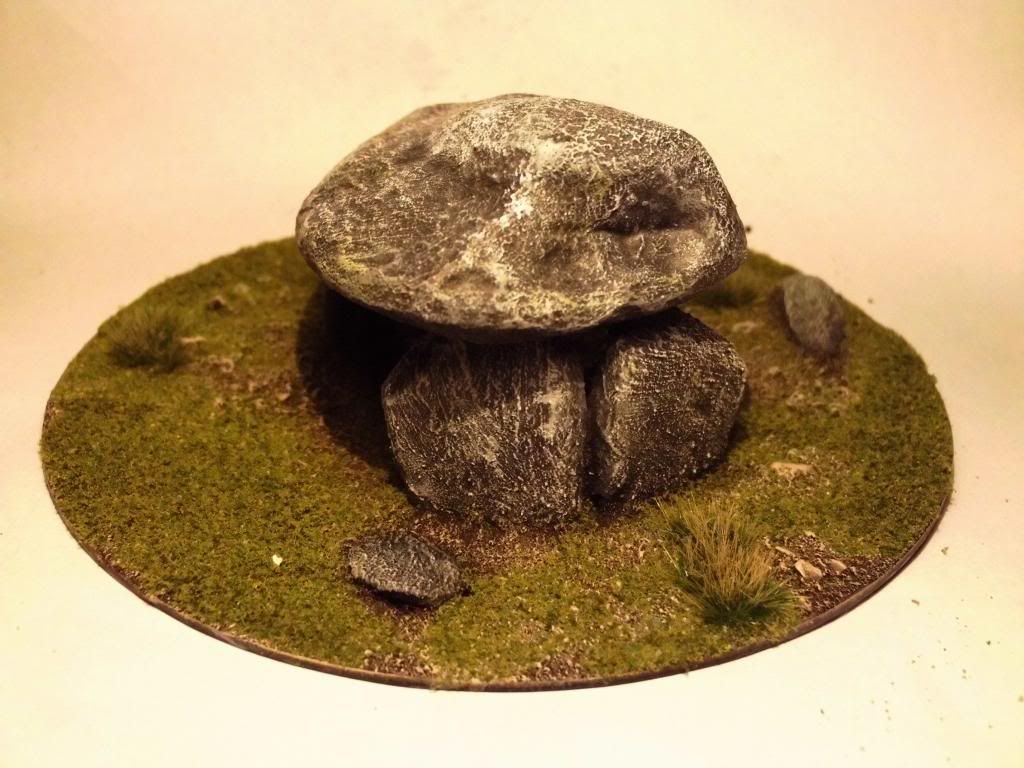
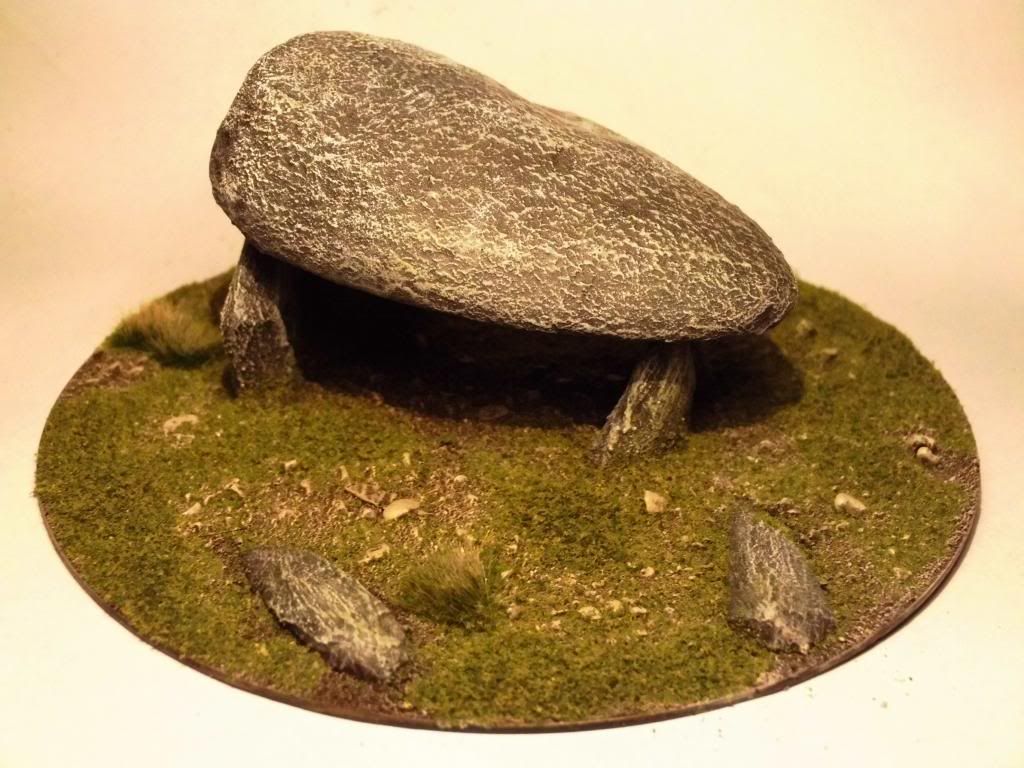
Carreg Coetan Arthur (neolithic dolmen)

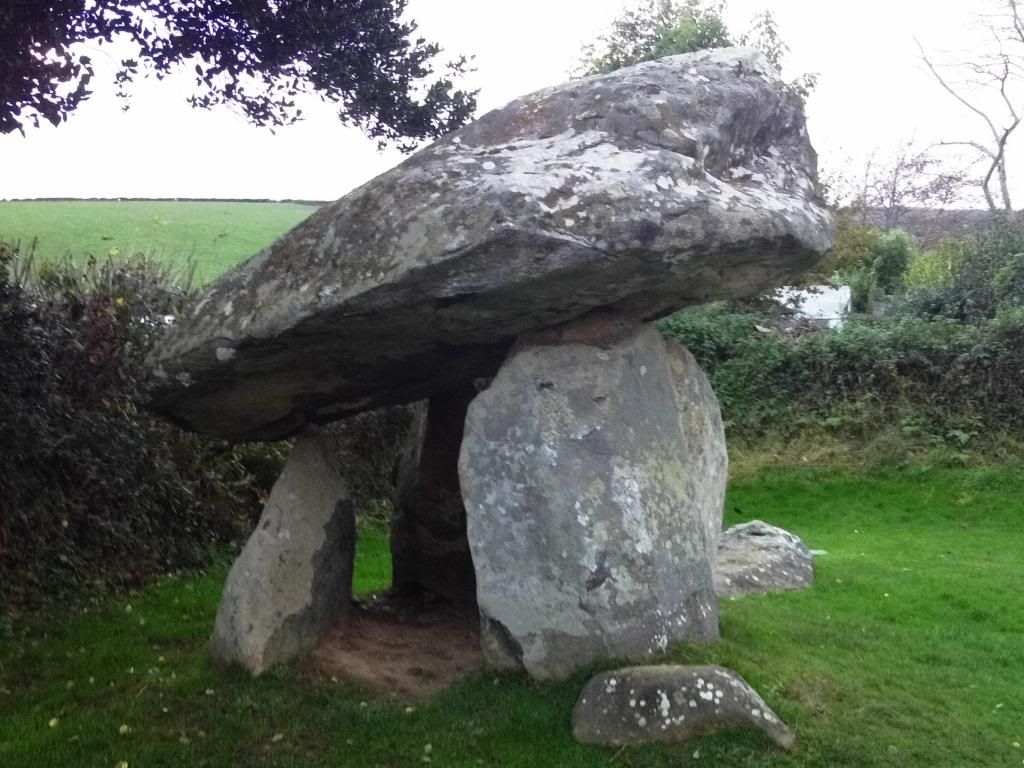
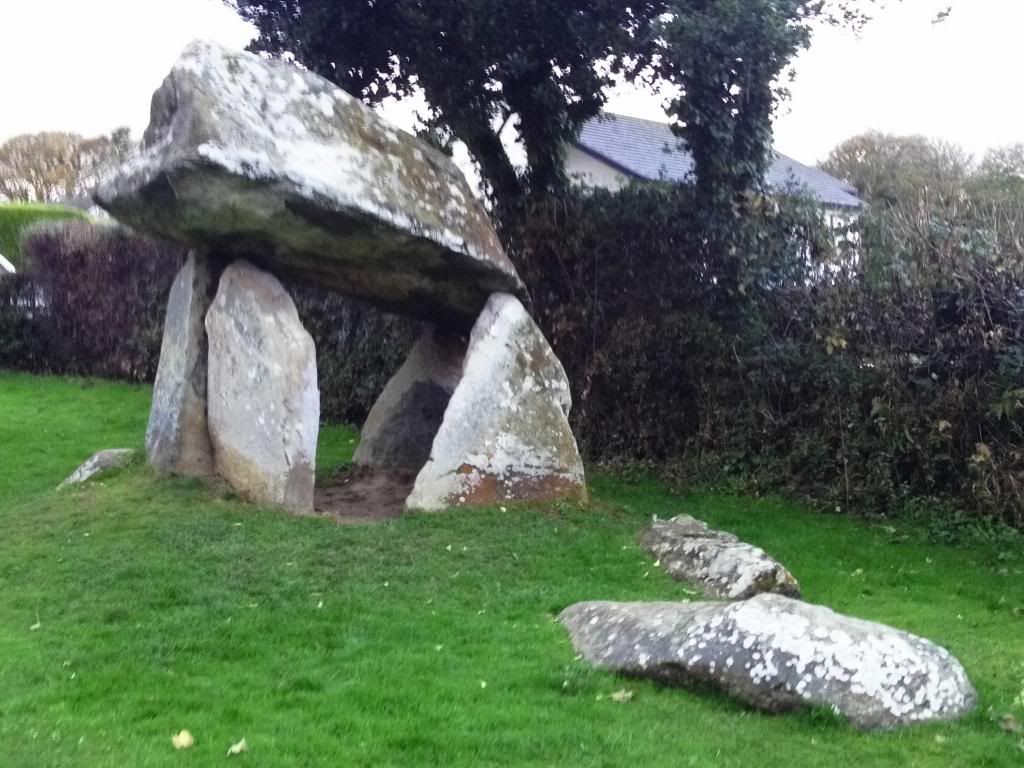
A few weeks ago my brother and myself travelled into the wilds of Pembrokeshire to the south west tip of Wales. Just one of the many sites we visited over a weekend was Carreg Coetan Arthur. This is a neolithic dolmen (burial chamber) near Newport which dates from around 3000 BC. This dolmen is just a few miles north of the Preseli Hills which was the original source of the Stonehenge bluestones.
The site is actually located on a small private housing estate, within a few feet of someone's bungalow which definitely impacts on your first impression of the place. How and why the local authorities allowed housing to be built so near to this scheduled ancient monument is slightly puzzling. For one lucky householder it almost appears that they have massive, unique ornamental garden feature in their garden. It's better than a garden gnome I suppose.
The remains consist of a four metre long capstone lying horizontally across four smaller vertical stones. The capstone actually only balances on two of the uprights, something I only noticed when I was crouched underneath and which prompted me to move out the way pretty quickly, even though it has probably been like this for many hundreds, even thousands, of years.
 
The grave would have been originally covered with earth; smaller stones would have been used to a create a facing for the entrance of the tomb, several large stones still lie scattered nearby.
 
The idea for the model came about after reading this post by Mad Guru where he used large wood
chippings to create models of rocky outcrops. Thinking I could use a similar technique I kept on the lookout for appropriate material. I must have had some funny looks from people visiting the German market in Birmingham who may have wondered what I was doing, apparently staring into the empty flowers beds in the city centre when I was actually looking for suitable pieces of chipping.

 
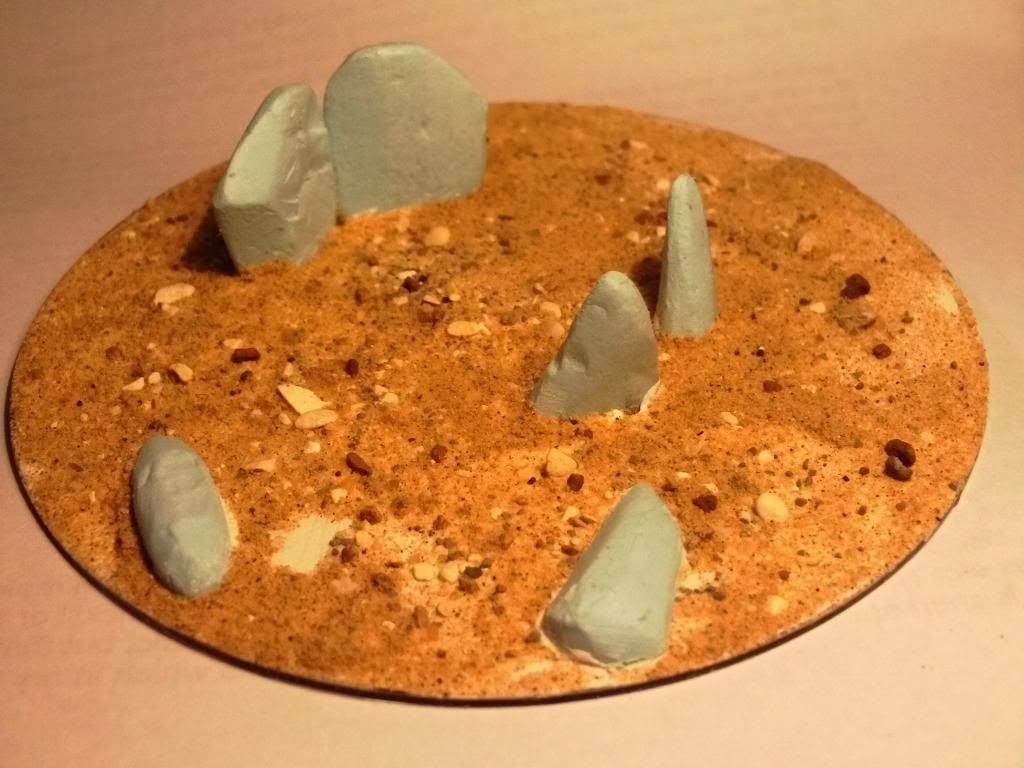
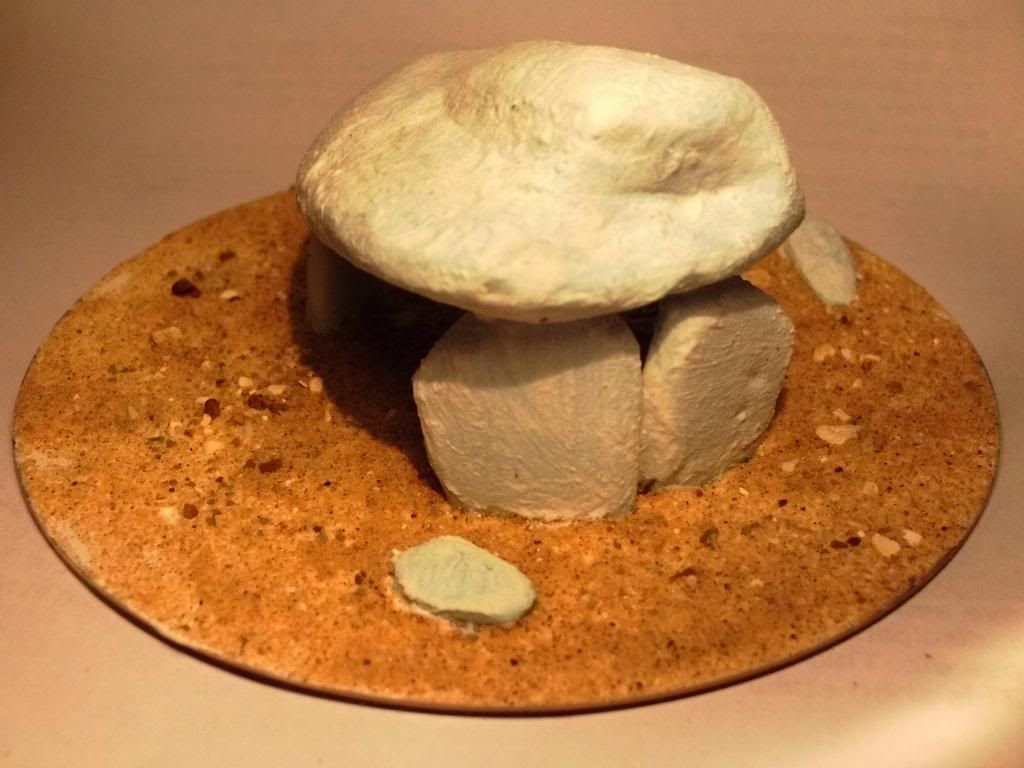
However after I was unable to find any pieces that I could use for the model I decided to use blue foam instead. As the foam is very easy to cut and carve I realised I could make a more accurate model of the Carreg Coetan dolmen.

The foam uprights were stuck on to an old CD with wood glue. covering the central hole in the CD with a piece of plastic card at the same time. Once happy with the positions the CD was coated with wood glue and then covered with small stones and sharp sand. After being left to dry overnight I then fixed the capstone in place. To help secure it I cut small straight sections from a paperclip, dipped into wood glue and stuck these into the upright stones, pushing the capstone on top and once again left it to dry overnight.
The foam appeared a bit too smooth so in order to add texture I applied a thin layer of watered down ready mixed plaster, using a old stiff brush to give it a rougher, more stone like effect.
Once the plaster and glue was dry I drybrushed the stone, building up the layers of grey paint until finally finishing off with a white paint.

After applying several layers of matt varnish, and once again leaving to dry (making this model seemed to involve an awful lot of waiting), the model was finished off with grass and a couple of randomly placed tufts.

Wednesday, 21 November 2012

Award Winning Blog (cough, cough)

I don't normally fill in online questionnaires or do any 'internet meme' (I had to look that phrase up) that routinely do the rounds on the bloggosphere. The principle reason for this is because I have very limited access to the internet i.e. only at work. Any site containing the word 'game' is routinely blocked so I try and keep lurking and posting to a necessary minimum. So apologies if I don't get a chance to comment, reply to or miss messages.

However I was very flattered when I received a message from Michael over at 28mm Victorian Warfare. I was also prompted to do this after reading a post from The Lair of the Breviks by Andy Walker. Regarding this Liebster Blog Award thingy Andy puts it far better than I ever could:

"This little number has been doing the rounds in the blogosphere - it's a rather nice way of getting other people's blogs noticed, which I'm all in favour of. There's so much good stuff out there, and there may be one or two that you never knew existed....and we need to share the spotlight."

Therefore, largely ignoring the original award criteria (my blog, my rules), I'd highly recommend the following sites, in no particular order:

Colonel o'truth - some amazing fantasy conversions and paint jobs.

Harness and Array - stunning medieval figures and plenty of historic background information.
Life in The Man Cave - my mate Ade's blog. As genuinely nice and funny in real life as he is in his videos. (2300+ YouTube followers can't be wrong). He's too modest to promote his own stuff but I'm not, so I will! 

Army Royal - even more beautiful converted and painted medieval figures with the relevant background info.

28mm Victorian Warfare - both top notch quality and quantity from Michael's many varied figures. Always a pleasure to read his blog. If you haven't visited his site, please do. The variation of figures presented and the skill level of the painting makes regular visits well worth while.

You may notice that these blogs strongly feature modelling and conversion work, which shouldn't be not surprisingly as it's my favourite bit of this hobby.

Honourable mentions must, of course go to Ray's Don't Throw a 1 and Fran's The Angry Lurker. There aren't many posts that genuinely make my laugh of loud but those from Ray and Fran regularly do so. Depending on your age they are either the 'Morecombe and Wise' or the 'Ade Edmondson & Rik Mayall' of blogging. I was going to say they were the 'Bottom of the Blogosphere world' but that sounds rude. (I still have happy memories of crying with laughter watching some of that first series in a Dublin hotel in the early 90's with Guinness shooting out my nose). 

Always encouraging and complimentary with their messages (although not always to each other!) Ray and Fran are genuine stars of Blogger.

Thursday, 15 November 2012

Ox Wagon, Perry Miniatures

Yes, I'm finally back on the wagon! Well, at least painting-wise (apologies for the awful pun). This is the first set of miniatures I've painted since at least September but this isn't the new set of figures I promised in the previous post, which I hope to complete and post on here shortly.

This is the 'Ox wagon, (includes wagon, baggage, 4 oxen plus drover, woman and child) 'Code: WR24 currently £20.50 from Perry Miniatures.

Opening up the two boxes, you are confronted with a multiple of metal and resin components. Most of the parts are obvious, for instance the ox come with separate heads but I couldn't work out what four particular items, which looked like bent pitchforks, were supposed to be. After eventually checking their website I found that they fitted vertically over the top of the wheels and fixed to the carriage. I left these off the final simply because I didn't like the look of them. I'm sure they are authentic given the Perry's reputation for accurately but I thought they just looked a bit odd.


The set comes complete with three human figures the drover, woman (with a baby) and child, shown above. As the set is part of the War of the Roses ranges the figures are suitably detailed however my brother reminded me that he had picked up another figure that would also go well with this ox set.


I have no idea who the manufacturer of this figure is, my brother found it in a back room of Spirit Games in Burton in a pile of second hand figures. The figure still had traces of paint and a fair amount of flash on it but I can only guess that it's quite old. After a quick clean up I repainted him. The only thing missing is his jar of cider and a straw in his mouth.

Using the same technique I had previously used on the trebuchet model I've made the figures removable. This way I can use the original figure for medieval/Cry Havoc games and the other (mystery) figure for any period from the 17th C onwards.

The resin luggage is nicely detailed, there's even a big old cauldron hidden in amongst there if you have a close look.

Thursday, 8 November 2012

Great Round Tower Hourding


This is the latest WIP for my 'little' Great Round Tower side project. The Tower itself isn't finished but I have managed to complete the hourding itself (hurrah!).
Hourding Detail

The colour choice for the tiles was easy, these were simply painted to resemble slate. As I've previously stated I had intended to finish the woodwork a more standout colour scheme, namely red. And I did indeed paint this part of the model red. Not entirely happy with the results I left the model alone while I was trying to figure out the stairway and entrance (in fact, this is still very much an ongoing problem).

However on a recent holiday in the south east of England I had a chance of mind. On the very last day of our visit (we finally managed to visit thirteen castles in total, that's not counting forts, towers, churches, manor houses and other historic sites) we arrived at Dover castle, still one of the largest and most impressive castles in the country.

It was within the great square tower itself at Dover where I had the opportunity to speak to one of the guides. The interior of the keep has been recreated to how it may have looked during the time of Henry II's reign. Ironically (at least I thought so) as the building is listed the walls couldn't be painted so the wall hangings have been introduced to give the impression of the colour scheme. Every detail would have been made to impress, including the choice of the colours. Blue, green and red painted furniture would have cost a small fortune. The guide informed me that, for instance, the blue colour would have been made with lapis lazuli which was sourced from as far away as northeastern Afghanistan. Green was made from the mineral malachite.

It was with this in mind that I decided to repaint the hourdings to resemble plain wood. As I had previously wasted a small pot of Citadel paint with my previous effort I headed to the nearby DIY store (B&Q) and purchased a few test pots of emulsion. I eventually ended up using Crown Ultimate Cream Dark matte finish. The colour is quite similar the Citadel's Baneblade Brown but at around £1.50 for 75ml for a test pot is a bargain, especially if you're painting a large scale object, but I would recommend watering them down slightly.

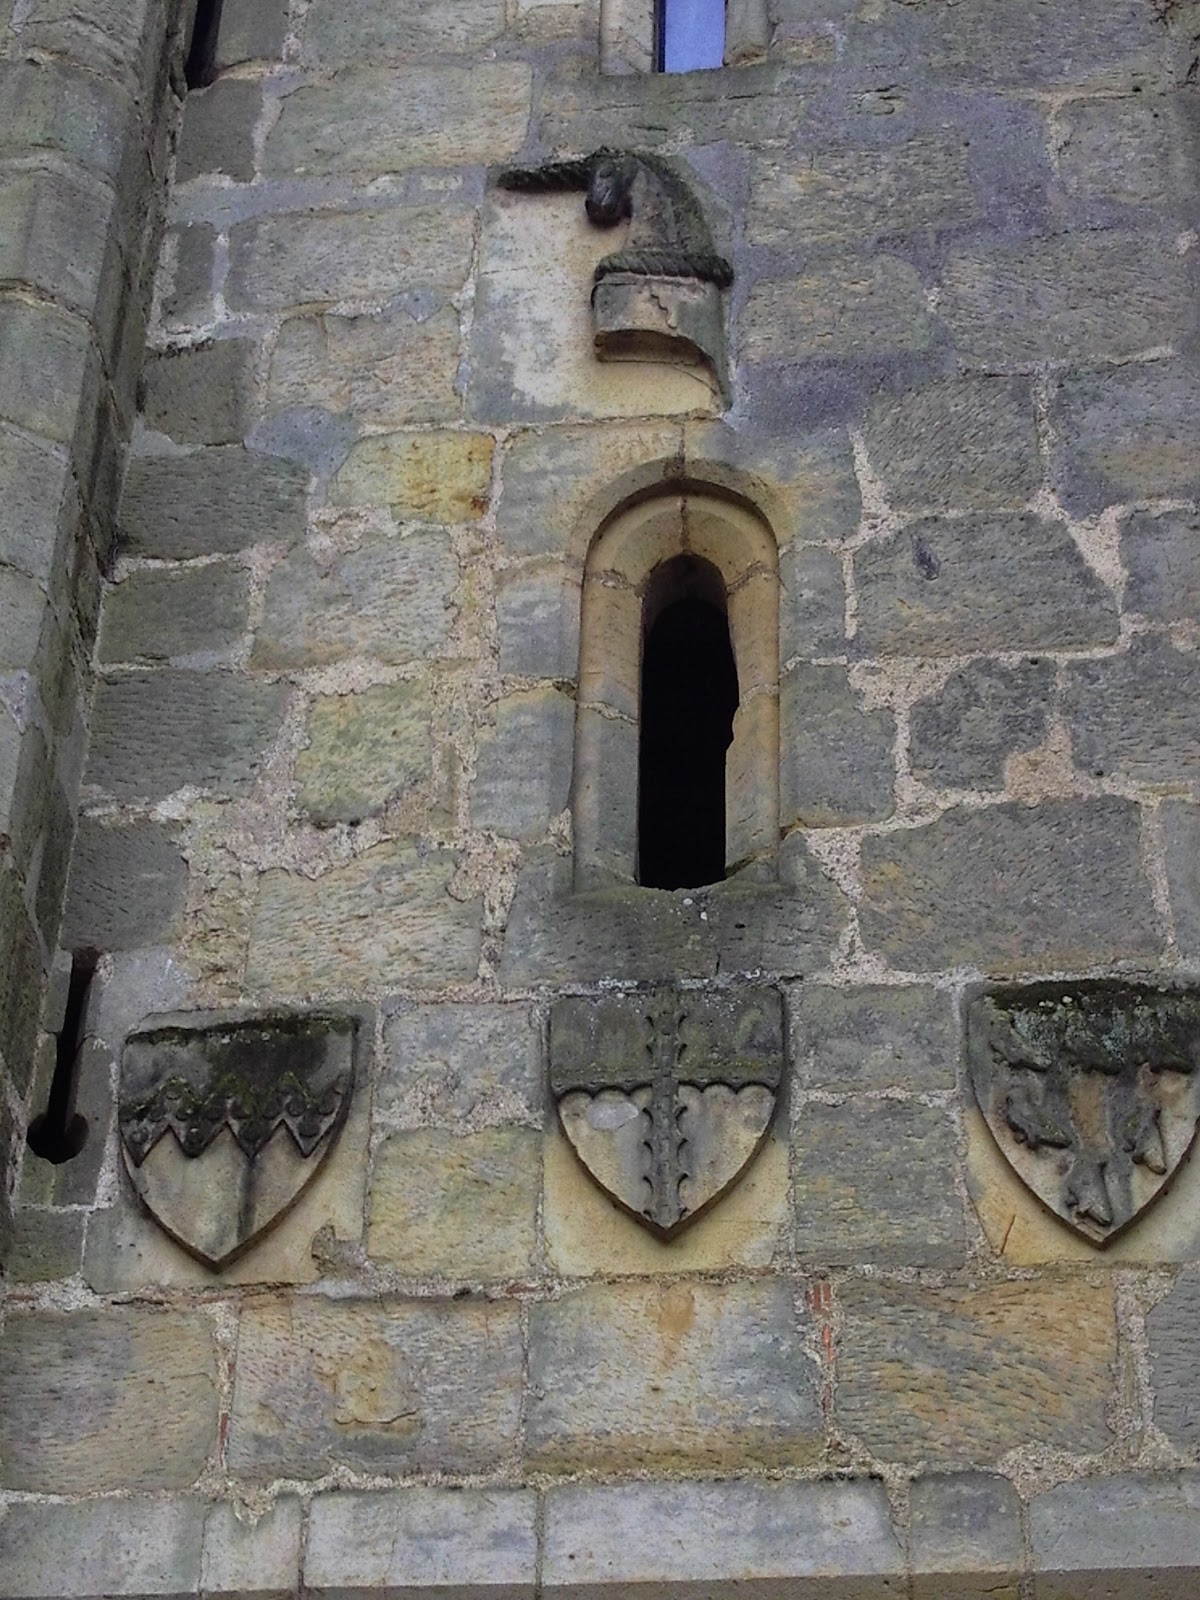
The hourdings were painted in the new colour scheme but with a small exception. Next time you visit a castle take a look above the main gateway. Sometimes you can spot the builder's family coat of arms carved in stone. Nice examples can still be seen at Bodiam castle.

Wardeux, Dalyngrigge and Radynden family shields. The carving above the shields represents the castle's builder, Sir Edward Dalyngrigge, tilting helmet complete with unicorn.


There are also several very large (modern) kite shields above the King's (?) gateway at Dover. So I thought I'd try and recreate something similar. Coincidently Dover had been defended by Hubert de Burgh, builder of Skenfrith, against Prince Louis in the great siege of 1216 (and again in 1217). I painted the vertical timber pieces using the coat of arms of de Burgh as a refernce. The unusual pattern, known as vair, is based on heraldic representation of patches of squirrel fur in an alternating pattern of blue and white.

"The squirrel in question is a variety of the red squirrel. In the coldest parts of Northern and Central Europe the winter coat of this squirrel is blue-grey on the back and white on the belly, and was much used for the lining of cloaks called mantles. It was sewn together in alternating cup-shaped pieces of back and belly fur, resulting in a pattern of grey-blue and grey-white which, when simplified in heraldic drawing and painting, became blue and white in alternating pieces." - Wikipedia

Happily there were two timber uprights that were positioned either side of the doorway, this enabled me to place a shield centrally above the doorway (this was down to pure luck rather than design). The shield is a taken from a Google Images file of de Burgh's coat of arms, stuck to a piece of cardboard and then trimmed to size. Now I only have to worry about making that infuriating entrance porch and the curved flight of steps!